Wireless webcam setup
We finally had all the kit we needed to run webcams on site. This post describes how I have setup hardware and software to stream video via our webserver.
We actually wanted to do this last year but we were let down by a University supplier who took for ever to deliver the kit we needed.
This is how the hardware is connected on site:
- N Swann wireless cameras -> N Swann receivers.
- Receiver -> modulator -> coax cable -> Axis IP webcam server.
- Axis IP webcam server -> Ethernet switch -> WiFI bridge -> WiFi ADSL router.
We run a daemon on a webserver in the university that connects to the MJPG stream from the Axis server. The daemon runs a multithreaded webserver that republishes the MJPG stream on a local port. When a visitor goes to the webcam page on he webserver a small PHP script connects to the local daemon and streams MJPG to the visitors web browser.
The neat thing about this is the MJPG is only sent once by the Axis server over the Silchester ADSL link. If we let visitors connect directly to the Axis server the ADSL bandwidth would be a bottleneck and the number of concurrent visitors viewing the webcam would be limited (not to mention the fact that there would be no bandwidth left to do any work with). In this configuration web browsers request the webcam PHP script on the web server and our webserver has 100mbit connectivity allowing us to support a larger number of concurrent users.
At the time of writing we have the hardware set up in the PEDAL lab and until we move it onto the dig you should be able to see the stream in the window below (if you are using a browser that supports MJPG). There is a lot of radio interference in the lab which can cause the picture to be a bit blurry.
Here is the hardware when it was setup in the PEDAL lab.
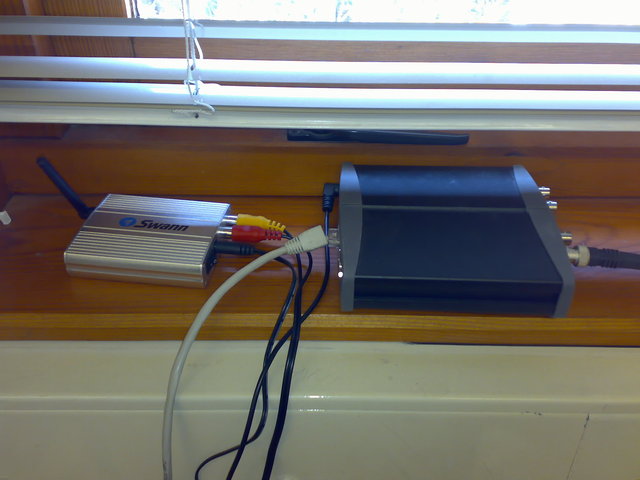
Axis 241QA video server and a Swann 2.4ghz wireless camera receiver.
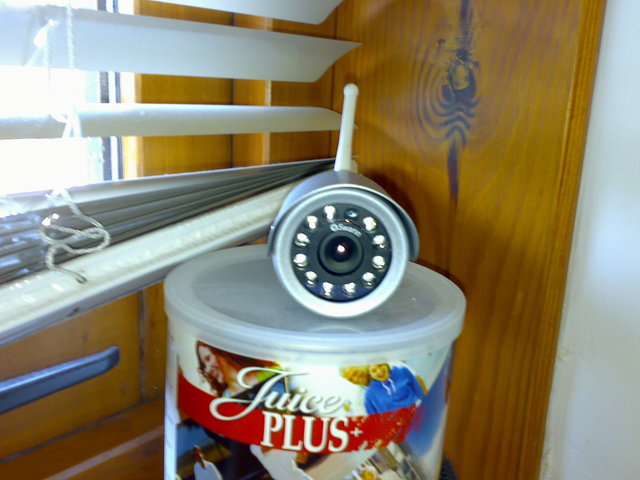
Swann 2.4Ghz wireless camera
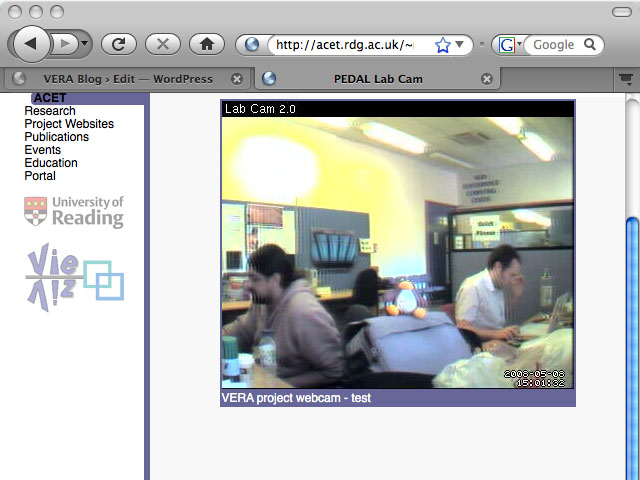
Video stream being displayed in a web browser.